
Last updated November 16, 2026
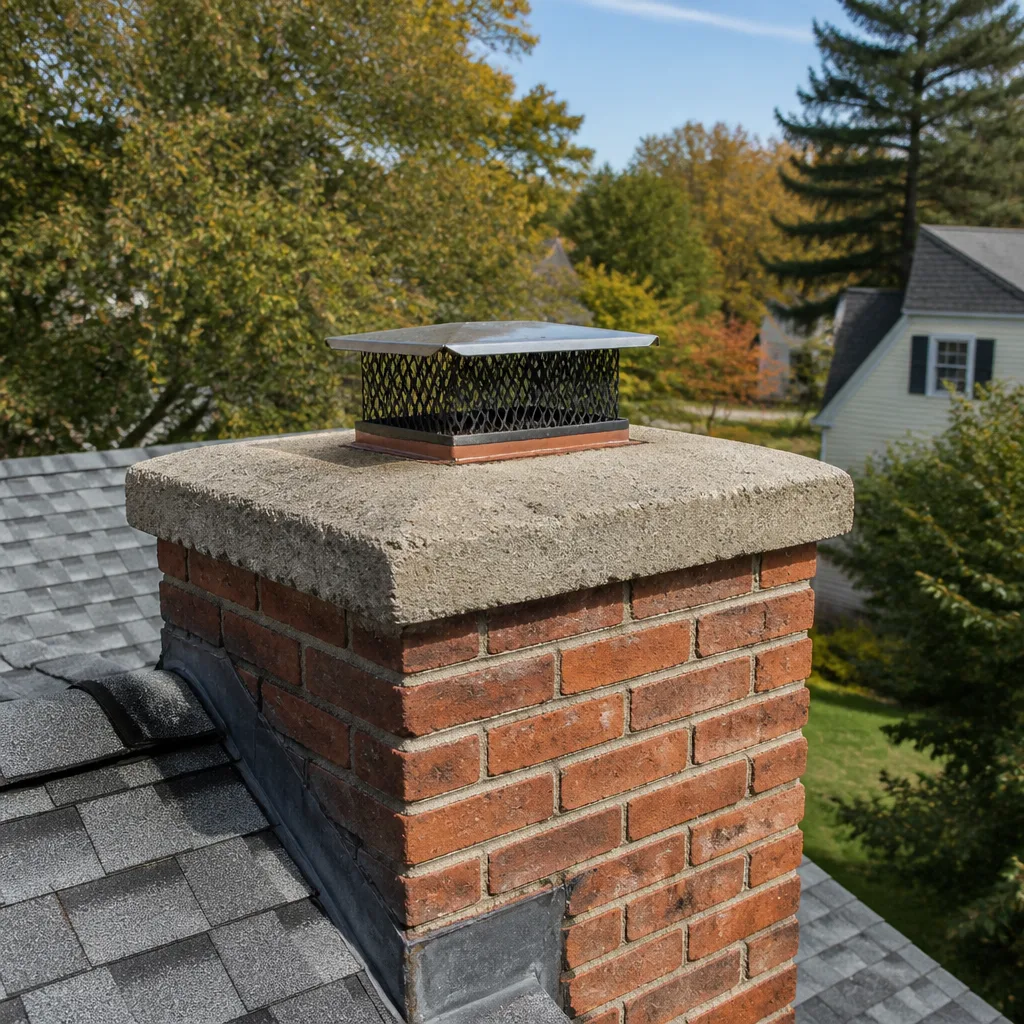 Sweep & inspection
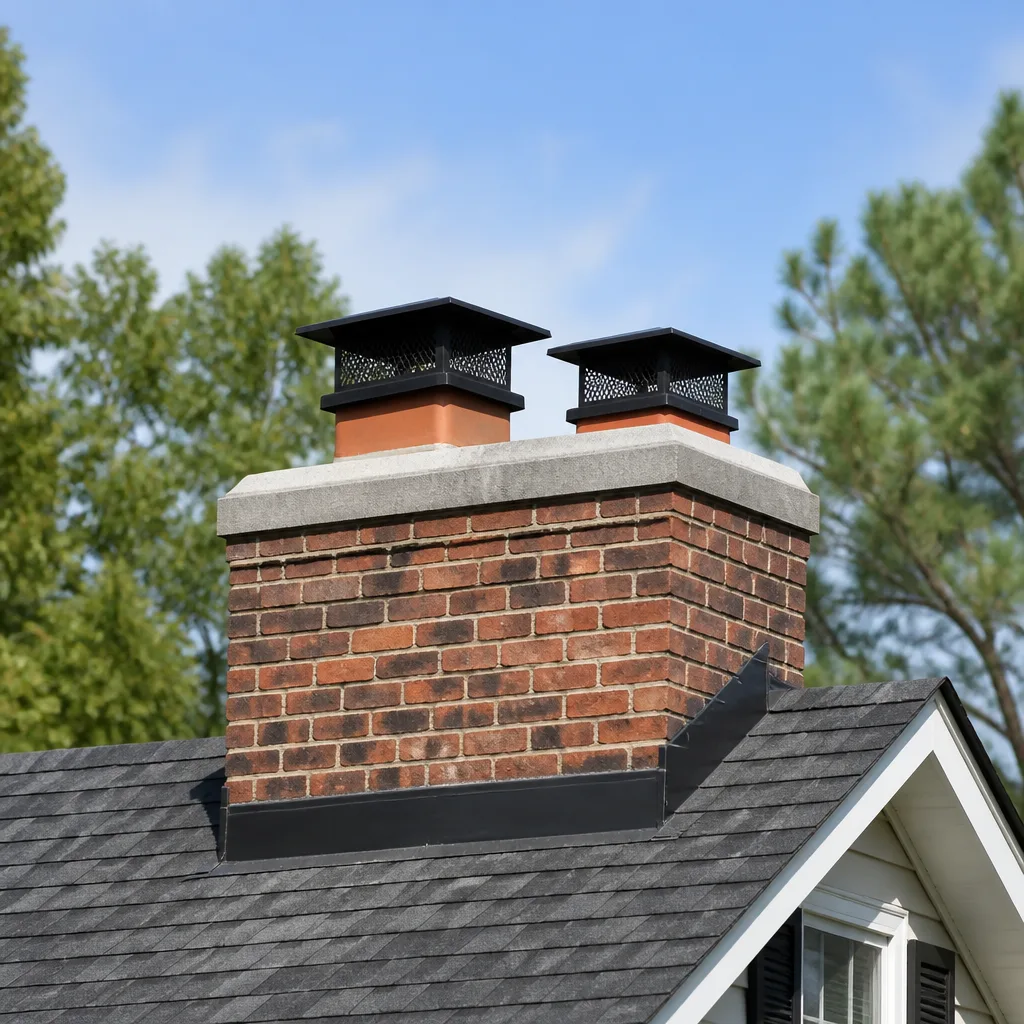 Caps & crowns
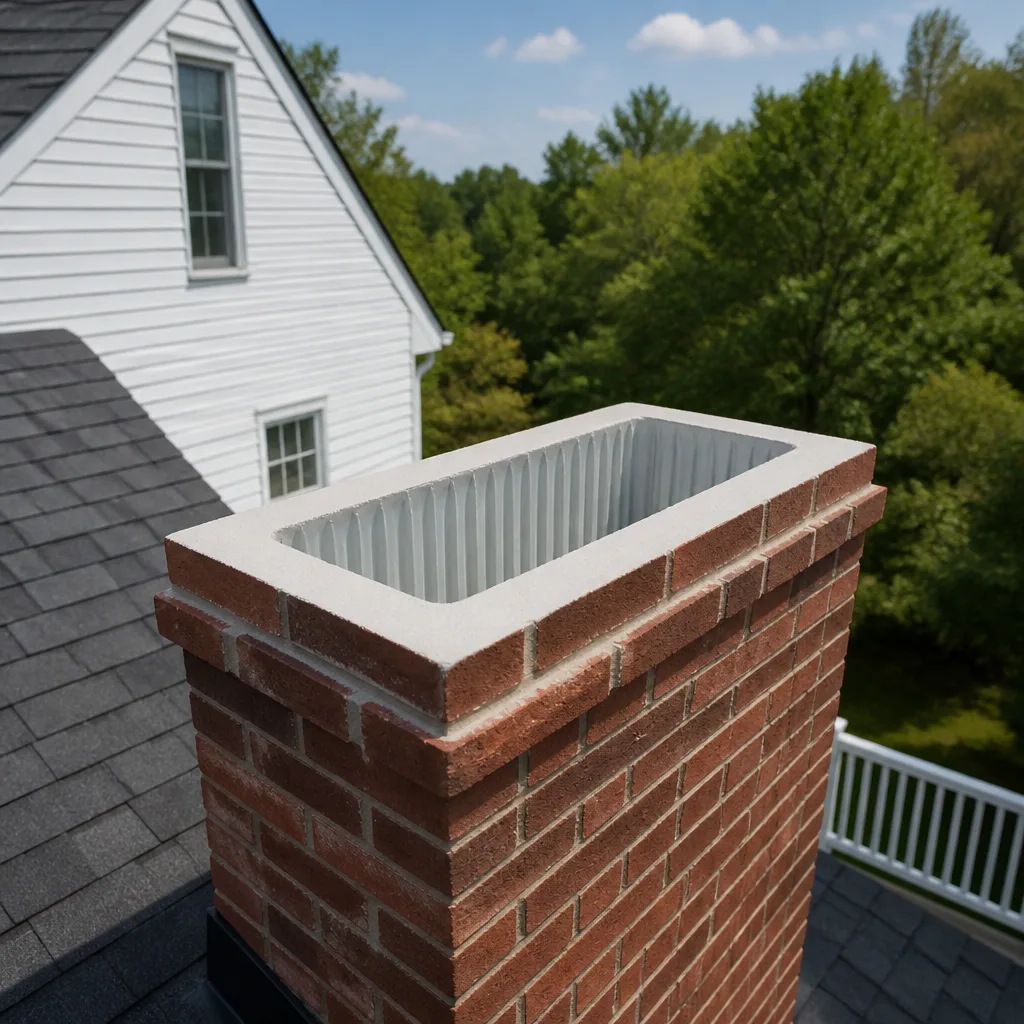 Flue relining
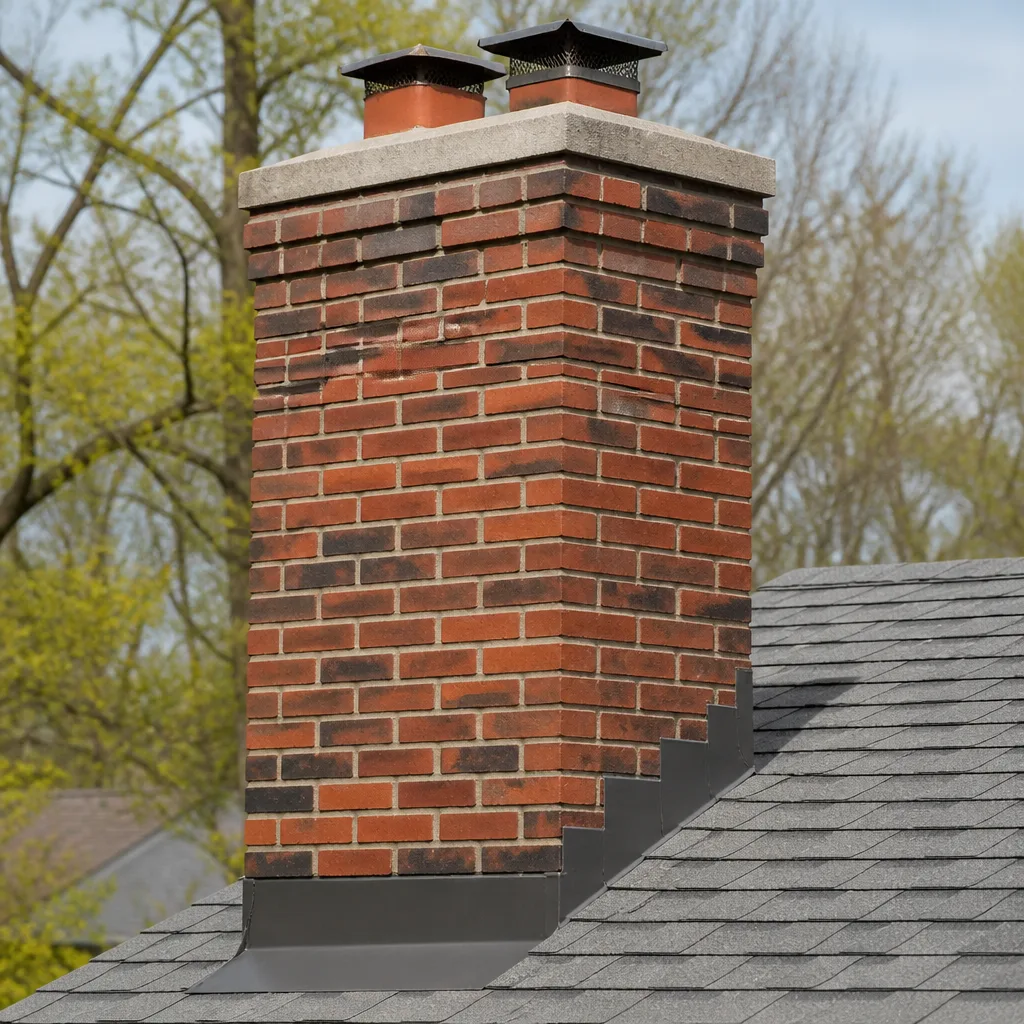 Masonry repair
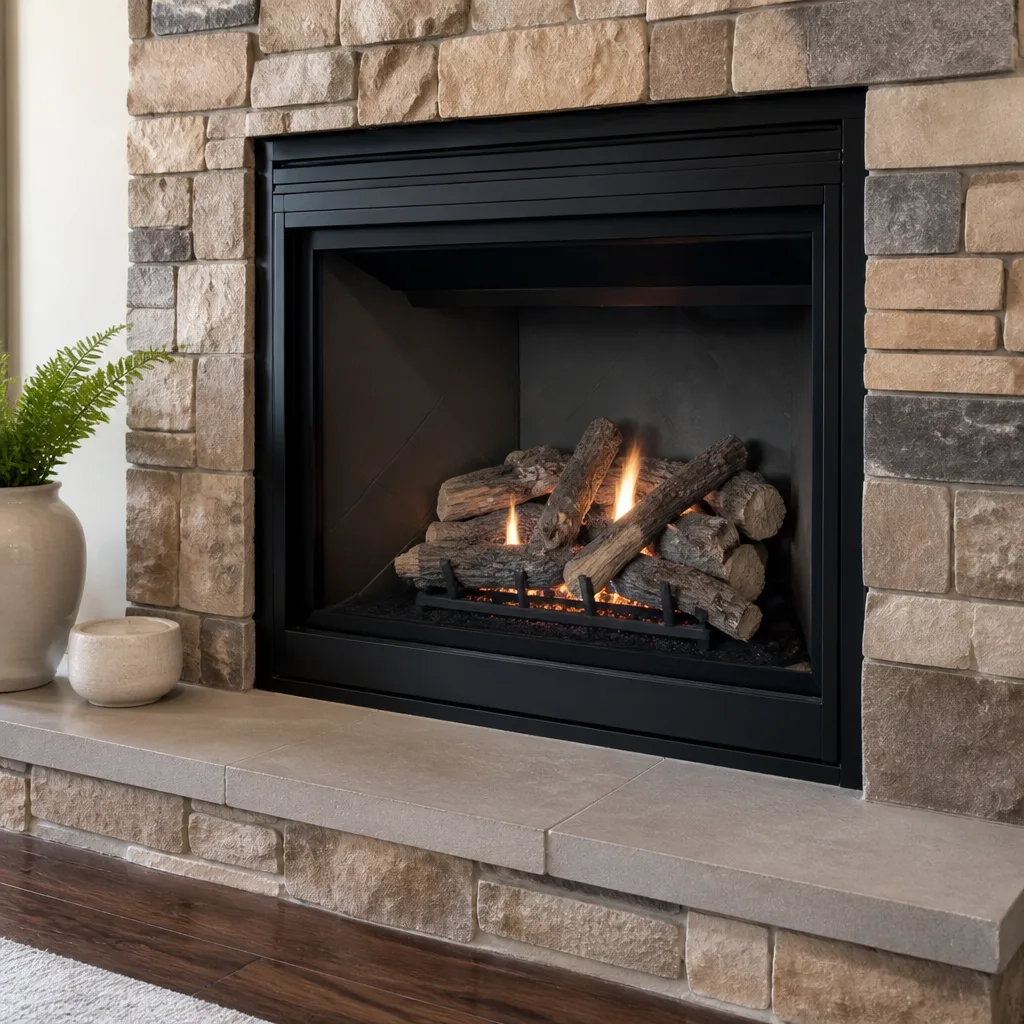 Gas fireplace service
Level 1 sweep and inspection to the NFPA 211 annual standard - flue, crown, cap, and flashing checked and photographed
Chimney sweep logs do not sweep chimneys. They loosen some creosote - which then falls where a brush and vacuum still have to collect it.
Chimney Sweep Maintenance Checklist for Hampton Homeowners
The chimney problem your sweep finds in October usually started in May. That’s the part most Hampton homeowners miss: a chimney doesn’t fail during burning season, it fails during the quiet months when nobody’s looking at it. Spring pollen packs into caps and screens, summer humidity works on mortar joints and flashing, and by the time you light the first fire, moisture has been sitting inside the flue for months. This guide is a month-by-month maintenance checklist built for Hampton’s climate, plus the visual checks you can do yourself and the ones that need a camera or a ladder. By the end you’ll know what to watch, what to photograph, and what to hand off.
Styles & brands we work with
- Sweep & inspection
- Caps & crowns
- Flue relining
- Masonry repair
- Gas fireplace service
Quick Answer
A Hampton chimney needs a professional sweep and inspection once a year, a visual check of the cap and exterior every season, and a homeowner walk-around in spring and fall. The homeowner’s job is spotting moisture signs, animal entry, and damper problems early and documenting them; the sweep’s job is the flue, the firebox, the liner, and everything that needs a camera or roof access. Skip either half and small issues compound quietly through the off-season.
Table of Contents
- Why Chimney Maintenance Timing Matters in Hampton
- Spring Checklist: Pollen, Caps, and the End of Burning Season
- Summer Checklist: Humidity, Moisture, and the Off-Season
- Fall Checklist: Before the First Fire
- Winter Checklist: During Burning Season
- What You Can Check Yourself vs. What Needs a Professional
- The Five Exterior Signs of Moisture Damage (and How to Photograph Them)
- Checking Your Damper and Flue Blockage from Inside the Firebox
- Checklist Items That Void Insert and Stove Warranties If Skipped
- Common Mistakes to Avoid
- When to Call a Professional
- Frequently Asked Questions
- The Bottom Line
Why Chimney Maintenance Timing Matters in Hampton
Hampton sits in a climate with real seasonal swings, and a chimney responds to every one of them. Spring brings a heavy pollen load that coats caps, screens, and the outside of the flue. Summer humidity is the bigger issue: warm, moist air moves through an unused chimney, and any crack or gap in the masonry, crown, or flashing becomes a path for water. Then fall arrives, the first cold snap hits, and any moisture already inside the masonry freezes and expands. That freeze-thaw cycle is what widens hairline cracks into real problems.
This is why the maintenance calendar for a Hampton chimney doesn’t start in October. It starts the week you stop burning for the season. The work you do in late spring and summer prevents the damage you’d otherwise discover in fall, and it gives your sweep a full season to order materials if a repair is needed. Some of those materials, like a DuraFlex liner system or a HeatShield resurfacing kit, take time to source and schedule.
There’s a second reason timing matters. A chimney is a system, not just a flue. Cap, crown, flashing, mortar joints, firebox, damper, and liner all need to be in working order together. A checklist that only covers the flue misses half the system, and the other half is exactly where moisture and animals get in.
Spring Checklist: Pollen, Caps, and the End of Burning Season
The moment you stop using the fireplace for the year is when the maintenance clock starts. Do these tasks once the last fire has gone out and the chimney has fully cooled.
- Get a professional sweep and inspection booked. Late spring is the right time. You’ll get a clear report on the flue, the liner, and the exterior before the off-season sets in, and any needed repair can be scheduled without pressure.
- Empty the firebox completely. Ash holds moisture. Leaving a layer of ash in the firebox all summer feeds corrosion on the grate and damper.
- Check the cap and spark screen. Pollen, small twigs, and debris collect in the mesh. Clear anything blocking airflow. If the cap is rusted, loose, or has failed mesh, note it and photograph it for your sweep.
- Look at the crown. The crown is the concrete or mortar top of the chimney. Any visible crack, chip, or separation is a moisture path.
- Close the damper and check the firebox for drafts. A damper that doesn’t seal fully in the off-season lets humid air into the flue.
- Take photos from the ground. A phone with a zoom lens from the yard is enough to document the cap and the upper chimney. You don’t need to climb anything.
Spring is also when nests and animal entry start. Birds, squirrels, and raccoons look for a sheltered spot, and an uncapped or under-capped flue is a favorite. If you hear scratching or see debris in the firebox after the firebox has been empty, get a professional in before anything else.
Summer Checklist: Humidity, Moisture, and the Off-Season
Summer is the most important season for a Hampton chimney, and it’s the one most homeowners ignore. Warm humid air holds moisture, and an unused chimney becomes a slow moisture pump. Here’s what to watch through the summer months.
- Watch the exterior for staining. A vertical dark or rust-colored streak on the chimney face is water getting behind the masonry or through the flashing.
- Watch for white powdery patches. That’s efflorescence, salt pushed to the surface by moisture moving through the brick. It’s a sign water is entering, not just cosmetic.
- Check the ceiling and walls near the chimney inside the house. A brown ring on the ceiling or a stain at the chimney chase is water reaching the interior.
- Feel around the base of the chimney in the attic. Damp framing or insulation near the chimney is a flashing or crown problem.
- Keep the damper closed except when burning. An open damper in summer is an open door for humid air.
- Look at the crown and cap after any heavy rain. A photo on your phone after a storm records what the rain exposed.
Document everything with photos taken from the same angle on a regular basis. When your sweep arrives, a dated photo sequence is worth more than a description. It shows how fast something is progressing, or whether it’s been stable all summer. That’s the difference between a repair that can wait and one that shouldn’t. Much of the inspection work we do comes down to comparing what a homeowner documented with what we see on camera. Photos built up over a season make that comparison straightforward.
Fall Checklist: Before the First Fire
Fall is the season of action. Everything you noted in spring and summer gets resolved, or confirmed as something that can wait. Do these before you light the season’s first fire.
- Book your annual sweep and inspection if you didn’t in spring. The flue needs to be clear of creosote, soot, and debris before it’s used.
- Have the sweep confirm the liner condition. A failing liner is the one thing you can’t fix yourself and shouldn’t ignore.
- Check the firebox for cracked brick or missing mortar. Gaps let heat and gases escape behind the firebox.
- Operate the damper fully. Open and close it several times. It should move smoothly and close fully.
- Look up the flue from the firebox with a flashlight. You’re checking for visible blockage, nests, or heavy soot, not for a diagnosis. If anything looks off, don’t burn until someone looks at it.
- Clear the cap screen again if summer debris has collected.
- Check your smoke and carbon monoxide detectors. A chimney maintenance checklist and a CO detector check belong together.
If your sweep finds a deteriorated liner, the fix isn’t always a full replacement. HeatShield resurfacing can address certain liner-mortar deterioration without pulling the whole system, and when a full reline is needed, DuraFlex liner systems are the kind of professional-grade material that holds up. Knowing which one your chimney needs is the whole point of the inspection.
Winter Checklist: During Burning Season
Once you’re burning again, the checklist shifts to observation. You’re not doing maintenance every week, but you’re watching for the signals that something’s changed.
- Watch the smoke on a still day. A lazy, rolling smoke is normal. A sudden puff of smoke into the room when you open the stove or fireplace door means there’s a draft problem or blockage.
- Notice a stronger smell than usual. Creosote has a smell, and a heavier smell can mean buildup faster than expected.
- Empty the ash regularly but leave a bed. A thin bed of ash helps the fire. A deep bed smothers it and cuts airflow.
- Check the firebox weekly for new cracks or loose mortar. Burning season is when a hidden defect shows up.
- Keep the area around the fireplace clear. Combustibles near the firebox are a bigger risk than most people realize.
One hard rule for winter: never burn treated lumber, wrapping paper, or trash. Those materials produce creosote and corrosive compounds that aggressive sweeping can’t undo, and they’re the single most common cause of premature liner damage in wood-burning systems. If you’re burning wood, burn dry seasoned hardwoods. A moisture meter is inexpensive and tells you more about your firewood than any label.
If you see a chimney fire, get everyone out and call the fire department. Don’t try to put it out by closing the damper. Chimney fires are dangerous, and a chimney fire is why the maintenance schedule exists in the first place. After any chimney fire, a professional inspection is mandatory before you burn again.
What You Can Check Yourself vs. What Needs a Professional
A homeowner can genuinely help here. You see the chimney from the yard, the ceiling, and the firebox. A sweep sees the flue from inside with a camera. The two jobs are different. Here’s the breakdown.
What you can check yourself:
- Exterior condition of the crown, cap, and upper chimney face, from the ground with a zoom photo
- Interior ceiling, walls, and attic area near the chimney for staining or dampness
- Damper operation and full open/close movement
- Visible blockage looking up the flue from the firebox with a flashlight
- Firebox brick and mortar condition
- Cap screen and spark arrestor for debris, from the ground
- Smoke behavior on a cold day
- Smoke and CO detector function
What needs a professional:
- The full flue sweep (creosote removal to the full length of the flue)
- Camera inspection of the liner and flue joints from top to bottom
- Assessment of liner integrity for gas and wood appliances
- Roof-level inspection of flashing, crown, and masonry joints that aren’t visible from the ground
- Any repair requiring heat-rated materials or liner work
- Verification that the installation is built to code for the appliance you’re using
That second list is where the difference between a proper chimney specialist and a general handyman shows. The camera and the roof access are the tools that catch what the eye can’t, and they’re the reason a sweep visit is more than a wire brush. Our technicians have up to 9 years of experience with the parts of the system you can’t see.
The Five Exterior Signs of Moisture Damage (and How to Photograph Them)
Moisture is the most common enemy of a Hampton chimney, and it shows five distinct signatures. Learn what they look like, then document them consistently.
- Staining. Dark brown, rust, or gray vertical streaks on the chimney face. Cause: water running down from above, often through a failed crown or flashing. Photograph: a wide shot of the whole chimney, then a close shot of the streak, both labeled with the date.
- Spalling. The brick face flaking or popping off in pieces. Cause: moisture freezing inside the brick. Photograph: a close-up with a ruler or coin in the frame for scale.
- Efflorescence. White, powdery salt deposits on the masonry. Cause: moisture moving through the brick and evaporating. Photograph: an angled shot showing the powder against the brick.
- Mortar recession. The mortar joints sitting deeper than the brick face, or crumbling. Cause: erosion, weather, and freeze-thaw. Photograph: a level, close shot so the depth of the joints is visible.
- Cap deterioration. Cracks, chips, or a tilted cap. Also a rusted or failed spark screen. Cause: rain, freeze-thaw, and age. Photograph: from the ground with a zoom, from the same angle each time.
Shoot all five from the ground at roughly the same time of day in the same month each season. A folder of dated photos is the most useful thing you can hand a sweep. When something looks different from the last photo, you’ve caught it early. When it looks the same, you know it’s stable and no repair is being recommended on a guess.
All of this matters because moisture doesn’t just look bad. Water in masonry drives spalling and joint failure, and in the flue it degrades the liner. Left long enough, it moves the repair from resurfacing to full relining. If you see more than one of these signs at once, get a professional inspection rather than waiting for fall.
Checking Your Damper and Flue Blockage from Inside the Firebox
The firebox is where a homeowner can gather the most useful information without tools or a ladder. Here’s a safe way to check what you can see.
- Make sure the fire is completely out. No embers, no warm ash. Wait if you’re not sure.
- Open the damper fully. It should move without sticking or grinding. If it’s stuck open or stuck closed, note it. Don’t force it.
- Use a flashlight and look up the flue. You’re checking for daylight from the top. If you see daylight, the flue is open through to the cap. If you don’t, something is blocking it.
- Look for nests, debris, or a heavy soot layer. Note what you see and the color of the deposits.
- Run a hand around the damper frame and firebox opening. Any soot on your fingers is normal. A lot of soot, or pieces of masonry, is not.
- Close the damper and check the seal. A flashlight held below a closed damper should not show light from above. If it does, the damper is leaking and should be checked.
A flashlight check tells you whether the flue is open. It does not tell you whether the liner is intact or whether joints have separated behind the visible flue wall. Those need a camera. If your flashlight check shows a blockage or a badly deteriorated firebox, don’t burn. Get an inspection first. If you’re seeing blockages or a damaged firebox, that’s the moment to bring in a professional for chimney repair rather than waiting.
Checklist Items That Void Insert and Stove Warranties If Skipped
Stove and insert warranties are conditional. Most require documented installation and maintenance, and several common checklist items that get skipped can affect coverage. Read your specific appliance manual, because the requirements vary by manufacturer. The themes are consistent.
- Skipping the annual professional inspection. Most insert and stove warranties require periodic inspection by a qualified chimney professional, and they require records. Keep the reports.
- Burning an unapproved fuel. Treated lumber, trash, and paper in a wood stove are fuel the manufacturer didn’t approve, and they can void coverage and damage the appliance.
- Improper installation that goes uncorrected. A flue that doesn’t meet the appliance’s clearance and venting requirements can void coverage. A code inspection catches this.
- Not using proper liner materials. A liner material not intended for the appliance’s temperatures and venting type is a warranty risk. This is where liner product choice matters, and it’s why we work with known professional-grade systems like DuraFlex and Olympia Chimney rather than whatever’s cheapest.
- Ignoring a required chimney cap. Many installations require a cap, and skipping it lets water and animals in, which can lead to a claim being denied.
- No annual cleaning record. Creosote and glazing that build from skipped cleanings are frequently excluded from coverage because they’re considered maintenance failures.
The safe approach with any insert or stove is to keep the manual, keep the sweep and inspection reports, and ask your sweep to verify the installation is built to code for your appliance. That record is what supports a warranty claim if you ever have one. Our service covers the sweep, inspection, and repair together so you’re not coordinating pieces of evidence across multiple companies.
Common Mistakes to Avoid
- Waiting until October to book a sweep. Fall is the busiest month for chimney work in Hampton, and any repair found then pushes into the holidays. Spring gives you room to schedule.
- Treating the annual visit as a five-minute brush job. A proper visit is a sweep, a camera inspection of the liner, and a report on the exterior. A visit that skips the camera isn’t a full inspection.
- Ignoring white deposits on the brick as cosmetic. Efflorescence means moisture is moving through the masonry. It’s a maintenance signal, not a stain to be scrubbed away.
- Putting off a cap. An uncapped flue invites rain, animals, and debris. It’s a small repair that prevents a large one, and materials like Famco and Copperfield caps are straightforward for a specialist to install.
- Burning unseasoned or wet wood. Wet wood produces more creosote per fire and costs you efficiency. It’s the same mistake every winter.
- Not photographing what you see. A sweep’s recommendation is only as good as the evidence behind it. Photo records keep the conversation grounded and let you see for yourself what changed.
- Trying to fix a liner, crown, or roof-level issue yourself. These involve height, heat, and code. They’re not homeowner tasks, and the consequences of getting them wrong are not just financial.
The other mistake worth naming: assuming a general handyman who sweeps is the same as a chimney specialist. Chimney systems have specific codes for venting, clearances, and liner materials, and the person on the roof should know them. That’s why we focus on chimneys only and work with a defined set of product brands rather than whatever generic material is on hand. When you’re ready for a proper chimney sweep, get one who’ll show you the camera evidence and name the materials.
When to Call a Professional
Call a professional for any of these: a persistent smell from the firebox after cleaning, visible cracks in the firebox or flue, a damper that sticks or leaks, a liner that shows staining or deterioration on camera, any bird or animal in the firebox, and a chimney fire even if it seemed to go out on its own. Also call if your checklist turns up more than one moisture sign at once, or if you see spalling or mortar recession. These are beyond a homeowner’s toolkit. You need a professional with a camera and the right materials.
Chimney Sweep Hampton offers free estimates in Hampton. Call (833) 572-0756. We answer 24/7. Fast dispatch from 7am to 7pm, Sunday through Friday. Nothing is recommended without evidence you can see for yourself, and we’ll tell you plainly when something can safely wait.
Frequently Asked Questions
The homeowner portion should be done four times a year: a spring end-of-season check, a summer moisture check, a fall pre-season check, and observation through winter. The professional sweep and inspection is once a year. Burning more than a cord of wood a season or using a wood stove as primary heat can justify more frequent sweeping. If any moisture sign appears mid-season, call rather than wait.
A sweep removes creosote, soot, and debris from the flue. An inspection evaluates the condition of the liner, the firebox, the cap, the crown, the flashing, and the appliance connection. They’re different jobs that are best done together. A visit that cleans but doesn’t inspect the liner with a camera has only done half the work. Call (833) 572-0756 for an exact quote on a combined visit. Estimates are free.
White powdery deposits are efflorescence, and they mean moisture is moving through the masonry and evaporating at the surface. On its own it’s a sign to investigate, not a code violation. Combined with staining, spalling, or a cracked crown, it’s a signal that water is entering the system and the repair should be scheduled. A photo of it is the best thing to bring to an inspection.
Don’t. An uncapped flue takes in rain, animals, twigs, and nesting material, and a blocked flue is a serious hazard. Caps are standard on a properly built system, and many appliance warranties require one. If yours is missing, damaged, or its mesh is failed, get a cap installed before fall. It’s a small repair that protects the whole chimney.
A failing liner sends heat and flue gases into the space around the chimney, and it’s the single most serious item on a chimney inspection. Depending on the condition, a liner can sometimes be resurfaced with HeatShield, which addresses certain mortar deterioration without full replacement. When a full reline is needed, a DuraFlex liner system is the kind of material a specialist will recommend. The camera inspection tells you which one applies. Don’t burn with a failed liner.
The seasonal pattern here does: heavy spring pollen, humid summers, and a freeze-thaw cycle in winter. That combination means moisture in the masonry has a real chance to freeze and expand, widening cracks and loosening mortar. It doesn’t have to; the checklist exists to find the moisture before it freezes. If you’d like a professional look at your chimney in Hampton, call (833) 572-0756. Estimates are free.
The Bottom Line
Chimney maintenance in Hampton is a year-round job, not a fall one. Spring ends the burning season and starts the documentation. Summer is when moisture does its damage, so watch for staining, spalling, efflorescence, mortar recession, and cap deterioration and photograph them consistently. Fall is when you resolve, not discover. Winter is when you observe. Do the homeowner checks yourself, get a professional sweep and camera inspection once a year, and keep the records. Those records protect both your chimney and your appliance warranty. If you’re unsure where your chimney stands, that’s what an inspection is for.
Ready to get your chimney on a proper maintenance schedule? Call Chimney Sweep Hampton at (833) 572-0756 for a free estimate. We answer 24/7. Fast dispatch from 7am to 7pm, Sunday through Friday. Whether it’s a spring sweep, a fall inspection, or a repair you’ve been putting off for Hampton, start with Chimney Sweep Hampton and get a clear answer backed by camera evidence.
Written by the team at Chimney Sweep Hampton.
See the difference
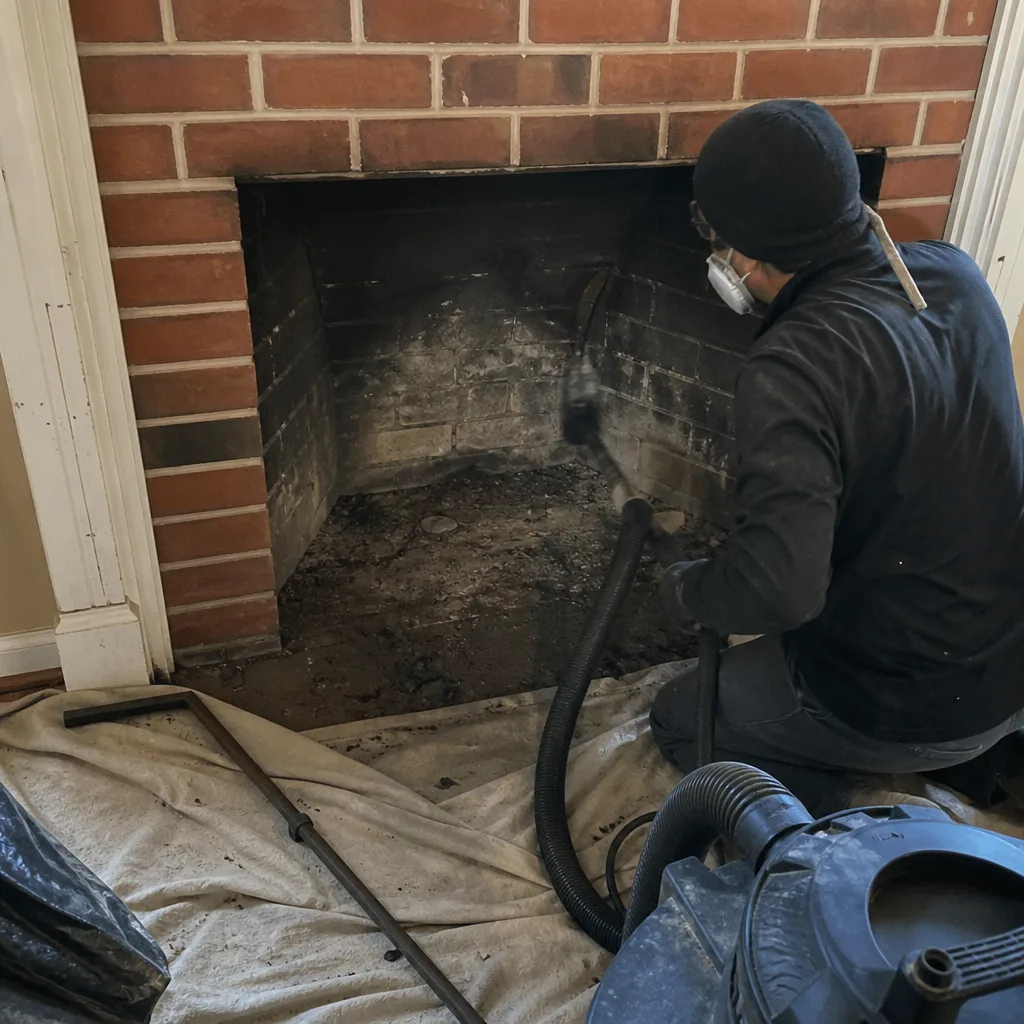 Before
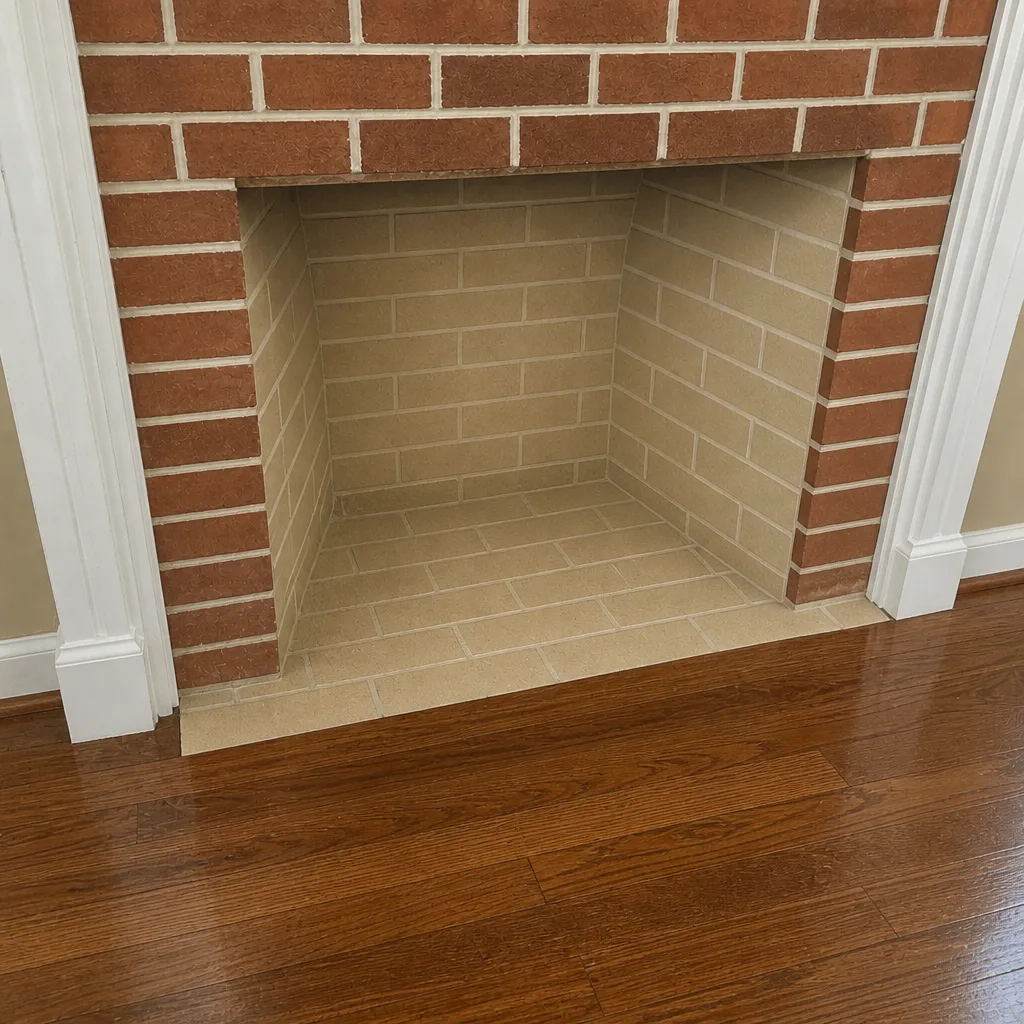 After
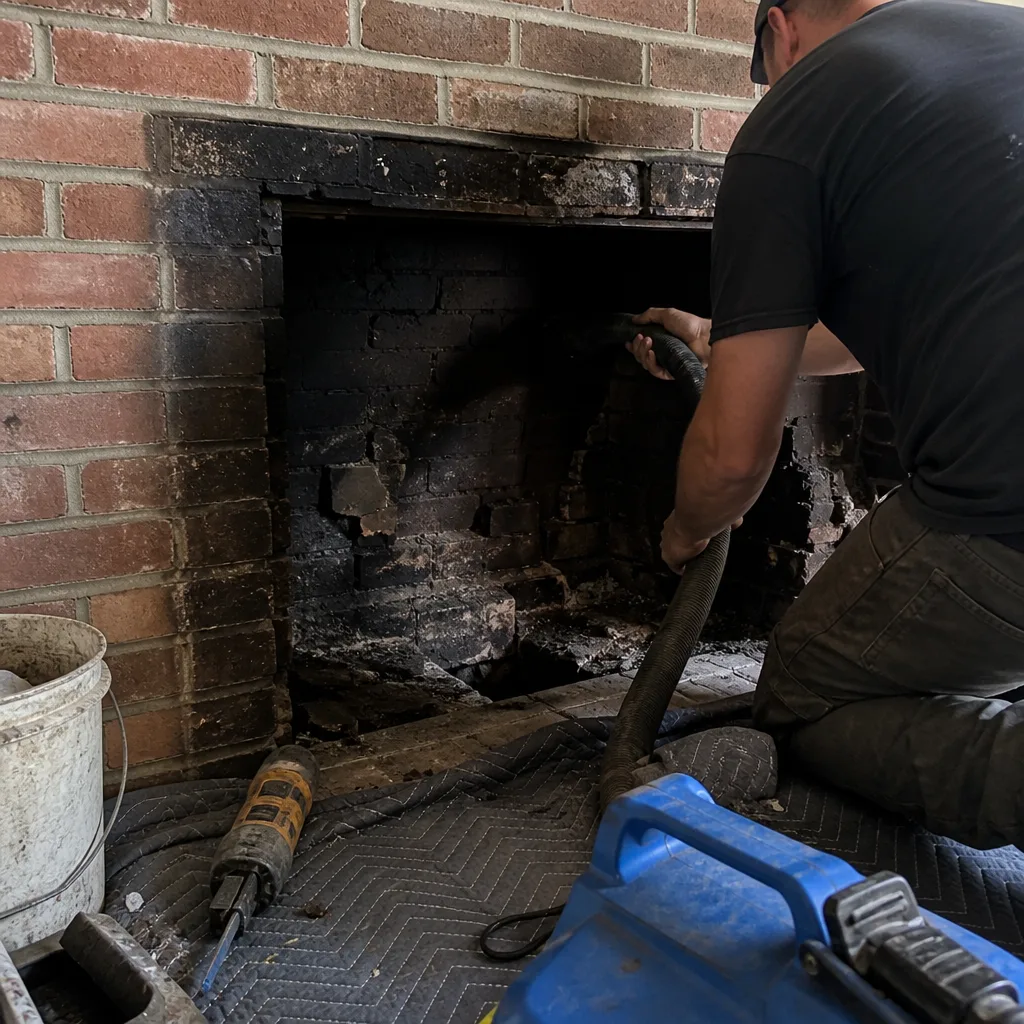 Before
 After
 Before
 After